 Hello! I would like to share with you how to make a reversible Japanese knot bag. This easy project is made even faster if you have a Cricut available. You can get a free SVG of the pattern here. The free pattern is provided by Hello Creative Family. You will need to log into Cricut Design Space first and then open the Hello Creative Family DIY Japanese Knot Bag Pattern Cut File.
This bag can easily be adjusted for larger or smaller sizes. View the images below to see the pattern style and then feel free to create your own!
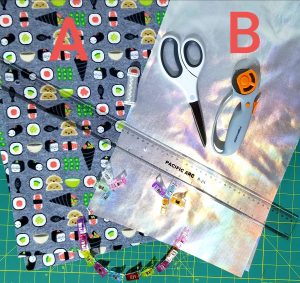
To get started you will need:
- 2 pieces of fabric 12×10 inches (fabric A)
- 2 pieces of fabric 12×10 inches (fabric B)
- Rotary blade (optional)
- Sewing machine
- Thread
- Scissors
- Wonder clips
- Ruler
- Iron
- If using a Cricut, you will need the 12×24 fabric grip adhesive cutting mat.
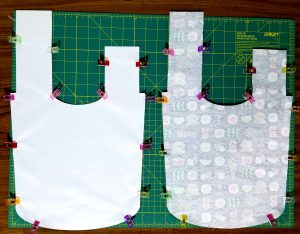
Step 1: Cut out your fabric pieces. This can be done using the free SVG file or by hand
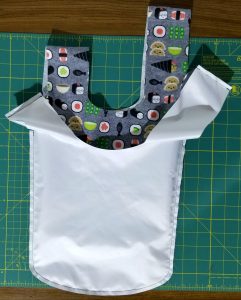
Step 2: Use your wonder clips to clip the two fabric A pieces together and fabric B pieces together. Align all edges and the printed sides are sandwiched together.
Step 3: Using a 1/4″ seam allowance, sew across the top of each handle. Then using a 1/4″ seam allowance sew from the notch below one handle, around the bottom curve and to the second notch below the second handle. DO NOT sew the sides of the handles. Make sure to backstitch when you start and stop sewing.
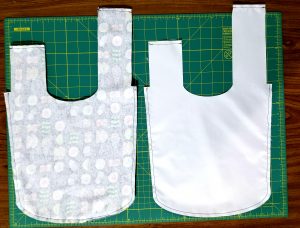
Step 4: Turn fabric A inside out. The printed side should be showing. fabric B will still be the wrong side out. Then slide fabric A inside of fabric B. Align the handles and make sure the seams are lined up. Use wonder clips to hold the fabric in place.
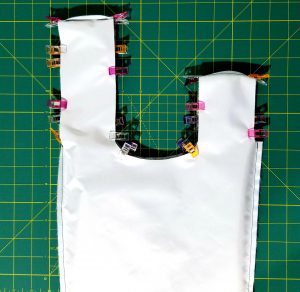
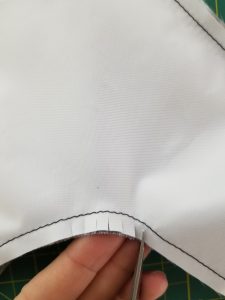
Step 5: Now open your bag until the inside ‘U’ shape turns into an ‘O’ shape. Use a 1/4″ seam allowance to seam the whole way around the ‘O’ shape. You will have two layers of fabric (fabric A & B). Once complete flatten your bag again. Using scissors cut little notches inside the curve of the ‘U’ shape.
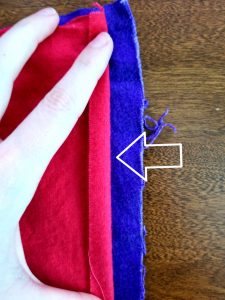
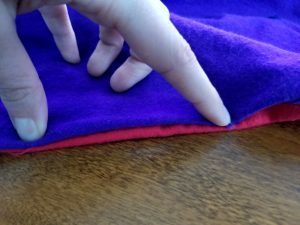
Optional: Before turning the bag right side out, fold the raw edges of fabric B (represented by the red fabric in the images below, the raw edges are the outside of the handles) and iron them flat. This will make it easier to finish the edges of your straps.
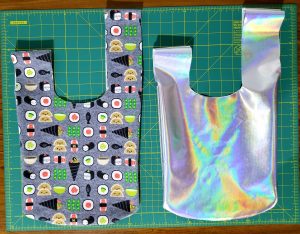
Step 6: Turn your bag right side out. Fold in the raw edges of the handles and use wonder clips to hold into place. Finish your bag by closing your handles. Topstitch a 1/8″ seam allowance around the outside of your handles. You will open the handles to get the ‘O’ shape and sew around the armhole. I start with the smaller opening first. An iron is very handy to get the edges to stay in place and get a nice clean edge.
Optional: Topstitch a 1/8″ seam allowance on the inside opening of your bag.
And you’re finished! Congratulations on completing your new bag.


